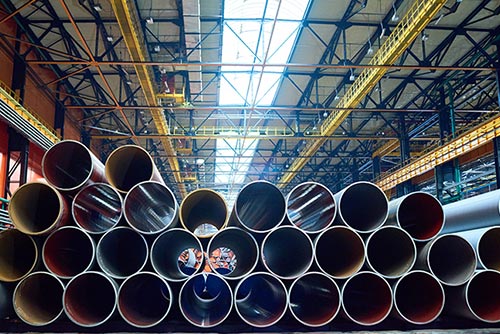
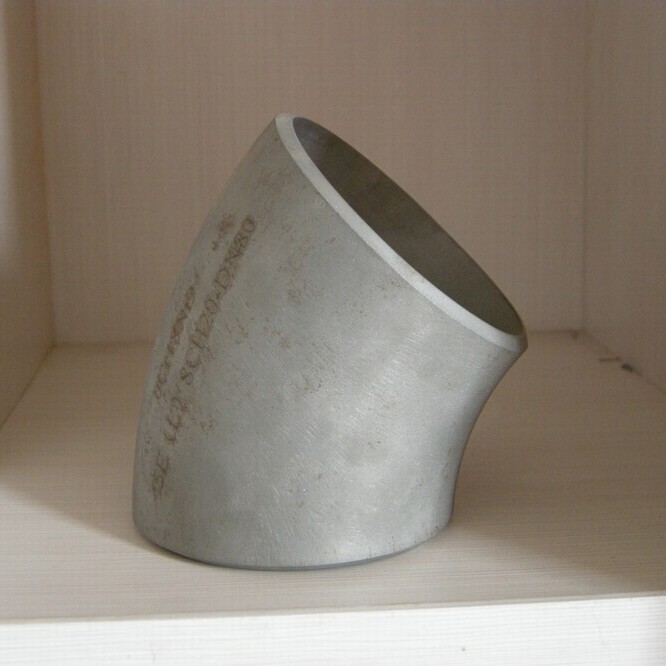
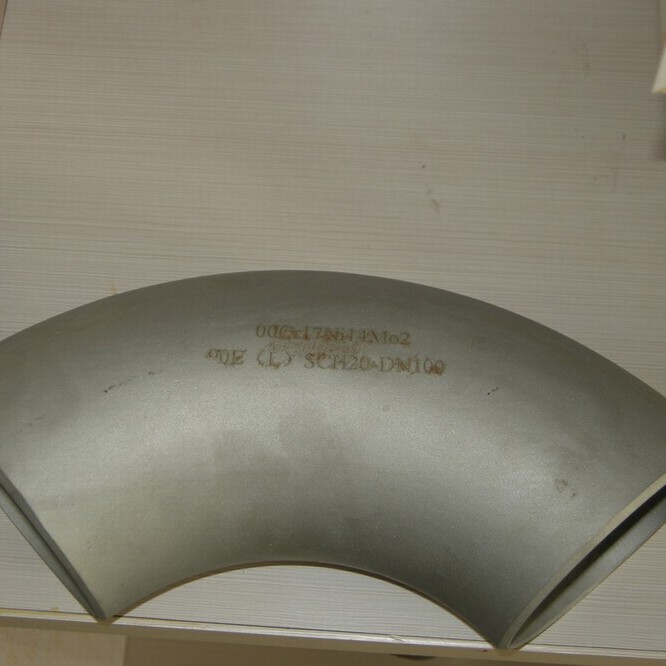
1. Raw materials shall meet the requirements of raw materials standards or technical specifications.I. Acceptance and Acceptance of Raw Materials
2. The surface of raw materials should be free from oil pollution, excessive rust corrosion and obvious dent defects, low melting point metal pollution, etc.
3. Check the quality certificate, furnace number, batch number and specifications of raw materials, manufacturers and implementation standards.
4. Dimension testing of raw materials (length, diameter, wall thickness and straightness of steel tube).
5. After entering the factory, the steel pipe should be re-examined by ultrasonic wave, and it is qualified according to NB/T 47013-2015 standard I.
6. Physical and chemical testing, chemical element analysis, mechanical properties and hardness testing of steel pipes imported according to furnace batch number and specifications. The test results should meet the relevant requirements.
7. Register the number according to the factory regulations after reexamination.
II. Manufacturing process
1. Forming
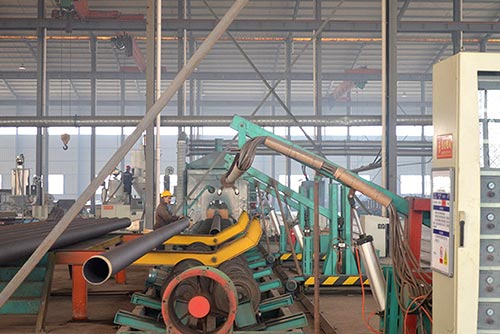
(1) Material selection and cutting, elbow selection of appropriate steel pipe, cutting with a sawmill, and raw materials furnace, batch number and pipe specifications, engineering name, number identification clearly.
(2) The mandrel is loaded into the pusher with a crane, and the blank is further cleaned up, then mounted on the pusher and put into the pusher for pushing.
(3) End removal: According to the elbow specifications, align the beveling machine with suitable tools, then fix the cutting gun, cut off the excess billet, and leave processing allowance for the beveling machine.
(4) Shaping: The elbow is clamped with special tire, and the port is shaped on the press with brace.
2. Heat treatment: According to the heat treatment process, the tube is put into the furnace for heat treatment.
3. Surface treatment: After heat treatment, the surface of the pipe fittings is cleaned by a polishing machine.
4. Hardness Testing: According to the requirements of relevant standards, the hardness of the pipe is tested (the surface hardness of the pipe is measured by a hardness tester at least 5 points per position).
5. End processing: mechanical end processing grooves according to design confirmation drawings. Within the range of 50mm from the end of the pipe, the excess height of the internal and external welds is grinded by an angle grinder.
6. Appearance inspection
Fittings shall not have cracks and other phenomena, and there shall be no hard spots on the surface.
(2)Welding repair is not allowed for any defect on pipe body.
(3) There shall be no defects such as scarring, folding, rolling and delamination on the fittings with a depth greater than 5% of the nominal wall thickness and a depth not greater than 0.8mm.
(4) Mechanical scratches and pits with depths exceeding 12% of nominal wall thickness or greater than 1.6 mm should be removed.
8. Dimension Detection
(1) Calibration: Measure at least 3 points at each end of the inner and outer diameters of pipe fittings with calipers.
(2) Measuring center height: Place the elbow naturally and intersect at one point along the two ends of the pipe. Measure the distance between the center of the pipe end and the intersection point with a ruler. The value is the center height of the elbow.
(3)Thickness measurement: After surface treatment, the thickness of inner arc, outer arc, neutral surface and end of elbow is measured by ultrasonic thickness gauge, and at least 5 points are measured at each position.
(4) Roundness measurement: The roundness of the end of the pipe is measured with a caliper, and four points are measured everywhere. The roundness tolerance should meet the standard requirements.
(5)Slope measurement: Measure the groove and blunt edge of pipe end with universal angle ruler and ruler. Its value should meet the requirements of drawing.
(6)Flat deviation measurement: Place pipe fittings (elbows) vertically in the bending plate, so that the end face is close to the bending plate, and the pipe body is on the other side of the bending plate. Measure the gap between the bending plate and the elbow pipe body with a ruler or plug ruler. Its value should meet the standard requirements.
(7)Oblique deviation measurement: Place the pipe in the bending plate, make its end face lean on the bending plate, and measure the gap between the bending plate and the end face of the pipe with a ruler or plug ruler. The value should meet the standard requirements.
(9)Geometric dimension tolerance (mm).
9. Surface treatment: The inside and outside surfaces of the fittings should be smooth, without any damage to strength and appearance defects, such as scars, scratches, heavy skins, etc. After the defects are found, they should be repaired. The thinning of the repaired parts should be no less than 87.5% of the original wall thickness. The repaired parts should be smooth and the defects should be cleared by magnetic powder inspection.
10. Nondestructive testing
(1)Non-destructive testing should be carried out after heat treatment of pipe fittings. Ultrasound testing and penetration testing methods are commonly used.
(2) Non-destructive testing shall be tested and accepted according to the relevant provisions of NB/T 47013-2015. The whole pipe shall be tested by 100% penetration test and 100% ultrasonic test, and the first grade is qualified.
(3) When transverse wave testing is carried out by ultrasonic testing, the sensitivity of testing equipment should be calibrated by using comparative standard sample. The comparative standard sample has the same technology, material and specifications as the measured sample. In the direction of vertical wall thickness, the vertical through hole with 1.6 mm diameter should be drilled on the comparative standard sample. If the signal of defect is larger than or equal to 1.6 mm diameter through the comparative standard sample. When the echo height of the hole is 100%, it is considered that the defect must be repaired. If the signal of the defect is stratified defect, the longitudinal wave detection can be used. The sensitivity calibration of the longitudinal wave detection should have the same process, material, specifications and comparative samples as the measured part.
(4) There should be no micro-cracks in the main body of pipe fittings.
11. Pickling and passivation: pickling and passivation of all pipe fittings.
12. Identification
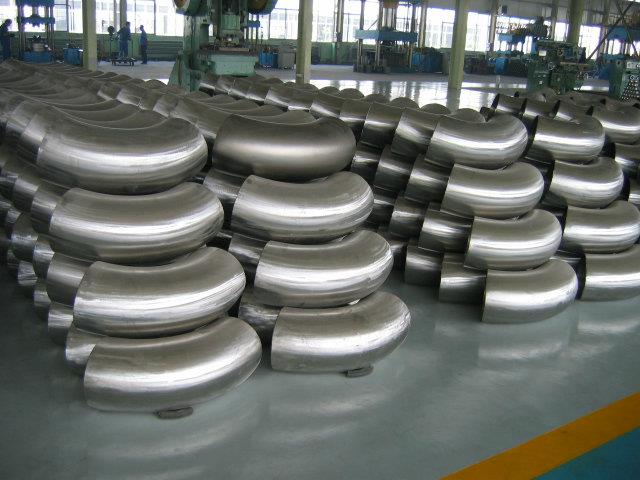
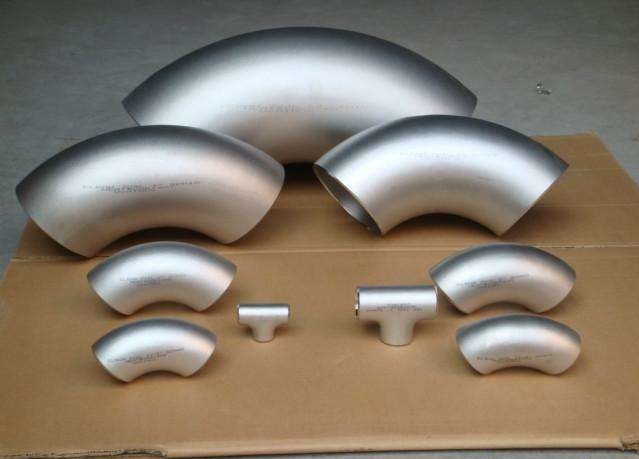
After the inspection of the fittings is completed, the unqualified products are piled up and processed. The qualified products are stored according to the following formats, and entered into the product account according to the number specified in the program file respectively. At the same time, permanent marks are made on the outer surface of the fittings.
Note: 1. Location of marking: The location near the central line of the side of the fittings and easy to observe.
Identification methods: spraying or labeling.
13. Storage and transportation
Pipe fittings should not contact any part of the carriage during transportation, so as to avoid collision.
|

